
A vehicle’s interior is a high-traffic environment. Between daily commutes, road trips and school runs, car seats absorb dirt, sweat and accidental spills. Ignoring this buildup does not just ruin the aesthetic appeal of your cabin; it compromises hygiene and accelerates material wear. Whether you are driving a commercial fleet or a personal saloon, knowing how to clean car seats correctly protects your investment and preserves resale value.
1. Identify Your Seat Material First
The most critical step in automotive interior detailing happens before you open a single bottle of cleaner. Different upholstery materials demand entirely different chemical approaches. Applying a harsh degreaser to unprotected leather will strip its natural oils, while using the wrong brush on delicate suede can leave permanent scratches.
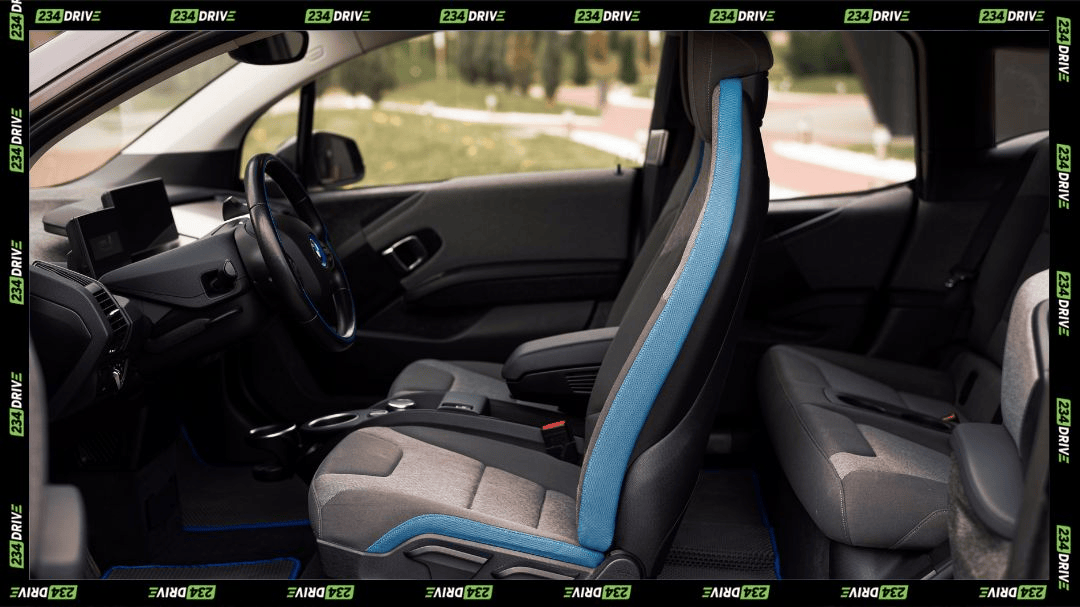
- Fabric and Cloth: Typically made from polyester or microfibre blends. These materials absorb liquids and odours rapidly. They require extraction methods to lift dirt from deep within the foam backing.
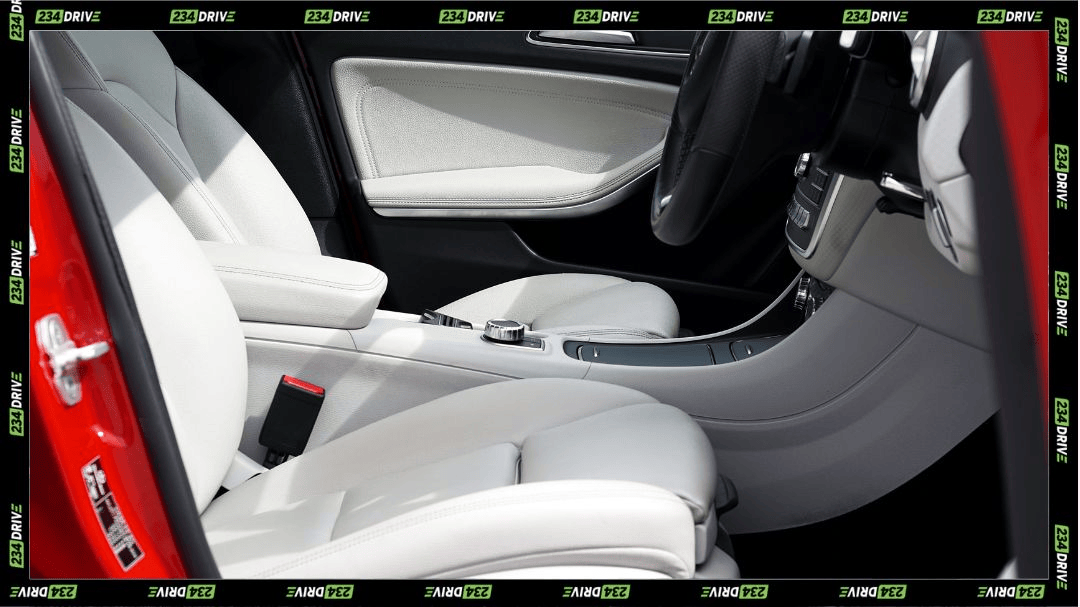
- Leather: Genuine automotive leather requires pH-balanced cleaners. Harsh household products cause the material to dry, crack and lose its protective coating. Leather must always be conditioned after cleaning to maintain flexibility.
- Vinyl and Synthetic Leather: Often marketed as leatherette, these synthetic surfaces are highly durable and resist stains better than fabric. They can tolerate slightly stronger all-purpose cleaners but still require careful handling to prevent liquid from seeping into stitched seams.
- Alcantara and Suede: These delicate materials are prone to water spots and matting. They usually require specialised care or professional attention.
Always check the vehicle owner’s manual before applying any product and test new chemicals on a hidden area first.
2. The Essential Cleaning Arsenal
Using the right tools separates a professional finish from a frustrating DIY disaster. Avoid stiff carpet brushes, bleach, ammonia and abrasive sponges. These will discolour fabric and permanently scratch leather surfaces.
You need a reliable vacuum cleaner with a narrow crevice attachment, a soft-bristle detailing brush and several lint-free microfibre towels. Keep a few empty spray bottles for diluting cleaning solutions. For advanced fabric cleaning, a wet/dry vacuum or a portable extractor significantly improves results. It pulls soiled water out of the cushion foam, preventing stains from reappearing later.
For fabric, use a dedicated automotive upholstery shampoo or an enzyme-based cleaner for organic stains. For leather, invest in a pH-neutral cleaner and a separate high-quality conditioner. Avoid all-in-one leather products that contain petroleum distillates or silicones as these create a greasy buildup over time. For a homemade alternative on fabric and vinyl, a heavily diluted solution of mild dish soap and water often works well. Always use distilled water for mixing and rinsing to prevent mineral deposits from staining dark seats.
3. Preparation Rules for All Materials
Do not skip the dry cleaning phase. Removing dry dirt prevents it from turning into mud once you introduce liquid cleaners.
Remove all personal items, child seats and loose floor mats. Vacuum the seats thoroughly. Pay special attention to the seams, the gap where the backrest meets the base and the area under the headrests. This step removes up to 70% of surface debris. If you frequently travel with pets, use a rubber glove or a dedicated lint roller to pull embedded hair from fabric fibres.
Park your vehicle in a shaded, well-ventilated area. Direct sunlight causes cleaning chemicals to evaporate too quickly, leaving stubborn streaks and residue behind.
4. Step-by-Step Cleaning Methods
Fabric and Cloth Seats
After a thorough vacuum, pre-treat any visible stains with an enzyme cleaner and let it dwell for five to ten minutes. For a light surface clean, spray a diluted upholstery cleaner lightly over the seat. Do not soak the fabric. Agitate the surface gently in a circular motion using a soft brush. Wipe away the resulting suds immediately with a dry microfibre towel so the dirt does not settle back into the fibres.
For a deep clean, use a wet vacuum or extractor to pull the cleaning solution and embedded grime out of the seat. Run a final pass with plain distilled water to rinse out any remaining soap residue.
Leather Seats
Vacuum with a soft brush attachment to avoid scratching the surface. Spray your pH-neutral leather cleaner directly onto a microfibre towel, never directly onto the seat. This is especially important for perforated leather, where liquid can pool inside the ventilation holes and damage internal electronics or heating elements.
Wipe the leather in gentle circular motions. Focus on high-contact areas like the side bolsters and the headrests. Wipe away any remaining residue with a separate damp cloth, then dry the seat completely. After 30 minutes, apply a leather conditioner to restore moisture. Allow it to absorb for an hour away from direct sunlight before buffing away the excess.
Vinyl and Synthetic Seats
Wipe the surface down with a diluted all-purpose cleaner or a mild soap solution. Use a soft detailing brush to work the cleaner into any textured areas or tight seams. Rinse the area with a clean damp cloth and dry it thoroughly. You can apply a dedicated vinyl protectant afterwards to guard against UV damage and prevent the material from fading. Use minimal liquid to ensure nothing soaks into the underlying foam.
5. Targeted Stain Treatments
Different stains require specific chemical reactions.
- Food and beverages: Coffee and soda spills respond best to enzyme cleaners. Blot fresh spills immediately with a dry towel. Never rub a fresh spill as this pushes the liquid deeper into the foam.
- Oil and grease: Use a dedicated automotive degreaser or a few drops of dish soap. Allow it to sit for ten minutes before agitating and extracting.
- Ink: Rubbing alcohol can lift ink from fabric but it requires extreme care. Blot the stain gently and test an invisible area first. Set-in ink often requires professional intervention.
- Odours: Surface cleaning rarely eliminates deep odours from smoke or pets. Use specialised odour neutralisers or book a professional ozone treatment.
6. Common Mistakes to Avoid
The most frequent DIY detailing error is over-wetting fabric seats. Forcing too much water into the cushion leads to a phenomenon called wicking, where deep-seated dirt travels back to the surface as the water evaporates. Severe over-wetting also creates the perfect environment for mould and mildew to thrive inside the foam.
Other common mistakes include aggressive scrubbing that frays fabric threads, skipping the final rinse stage and driving the vehicle before the interior is completely dry. Leaving soap residue behind acts as a magnet for new dirt, meaning your seats will look worse a week after you cleaned them.
7. Drying and Climate Aftercare
Drying is just as crucial as the cleaning process itself. Blot the seats with multiple dry towels to extract as much moisture as possible. Open all vehicle doors and windows to maximise airflow. If you have access to portable fans, direct the airflow across the surface of the seats rather than directly into the foam.
In humid climates, drying can take up to 12 hours. If the seats are still damp, place several dry towels over the wet areas and weigh them down overnight to draw out the remaining moisture. Never close the car up tightly while the interior is wet. Furthermore, hot and sunny climates accelerate leather cracking and fabric fading. Regular conditioning and the application of UV protectants are non-negotiable for extending material life in these environments.
Note that child and infant car seats require entirely separate handling. Follow the manufacturer’s instructions strictly. This usually involves machine-washing the covers on a gentle cycle and air-drying them. Never soak the harness straps or use harsh chemicals on the safety buckles.
8. DIY vs Professional Detailing
Handling your own interior maintenance is cost-effective for light soiling and regular upkeep. However, deep extraction requires serious equipment. Purchasing a quality wet vacuum, extractor attachments and professional-grade chemicals requires a moderate upfront investment, alongside three to four hours of your time.
If you are dealing with heavy biological stains, deep smoke odours, luxury suede or a vehicle that has been neglected for years, call a professional. Commercial extractors remove significantly more moisture and contaminants than consumer-grade tools and commercial steam cleaners can sanitise surfaces effectively. This is especially vital when preparing a vehicle for resale.
9. Maintenance and Frequency
Regular upkeep prevents heavy dirt buildup and significantly extends the lifespan of your interior materials. Vacuum your interior weekly or immediately after messy trips. Keep a microfibre towel and a mild interior detailer in the car to wipe away fresh spills before they set.
Perform a deep clean every three to six months, depending on how heavily the vehicle is used. Vehicles operating as commercial fleets, ride-hailing services or family transport should ideally undergo a deep extraction once a month to maintain rigorous hygiene standards.